I’ve been pumping for 20 months (no, that’s not a typo) so I thought I’d share some tips that have made it possible for me to continue for this long. Hopefully these will help make your life little easier as well, and keep a lookout for links I’ve added to the supplies I use!
What’s in my pumping bag?
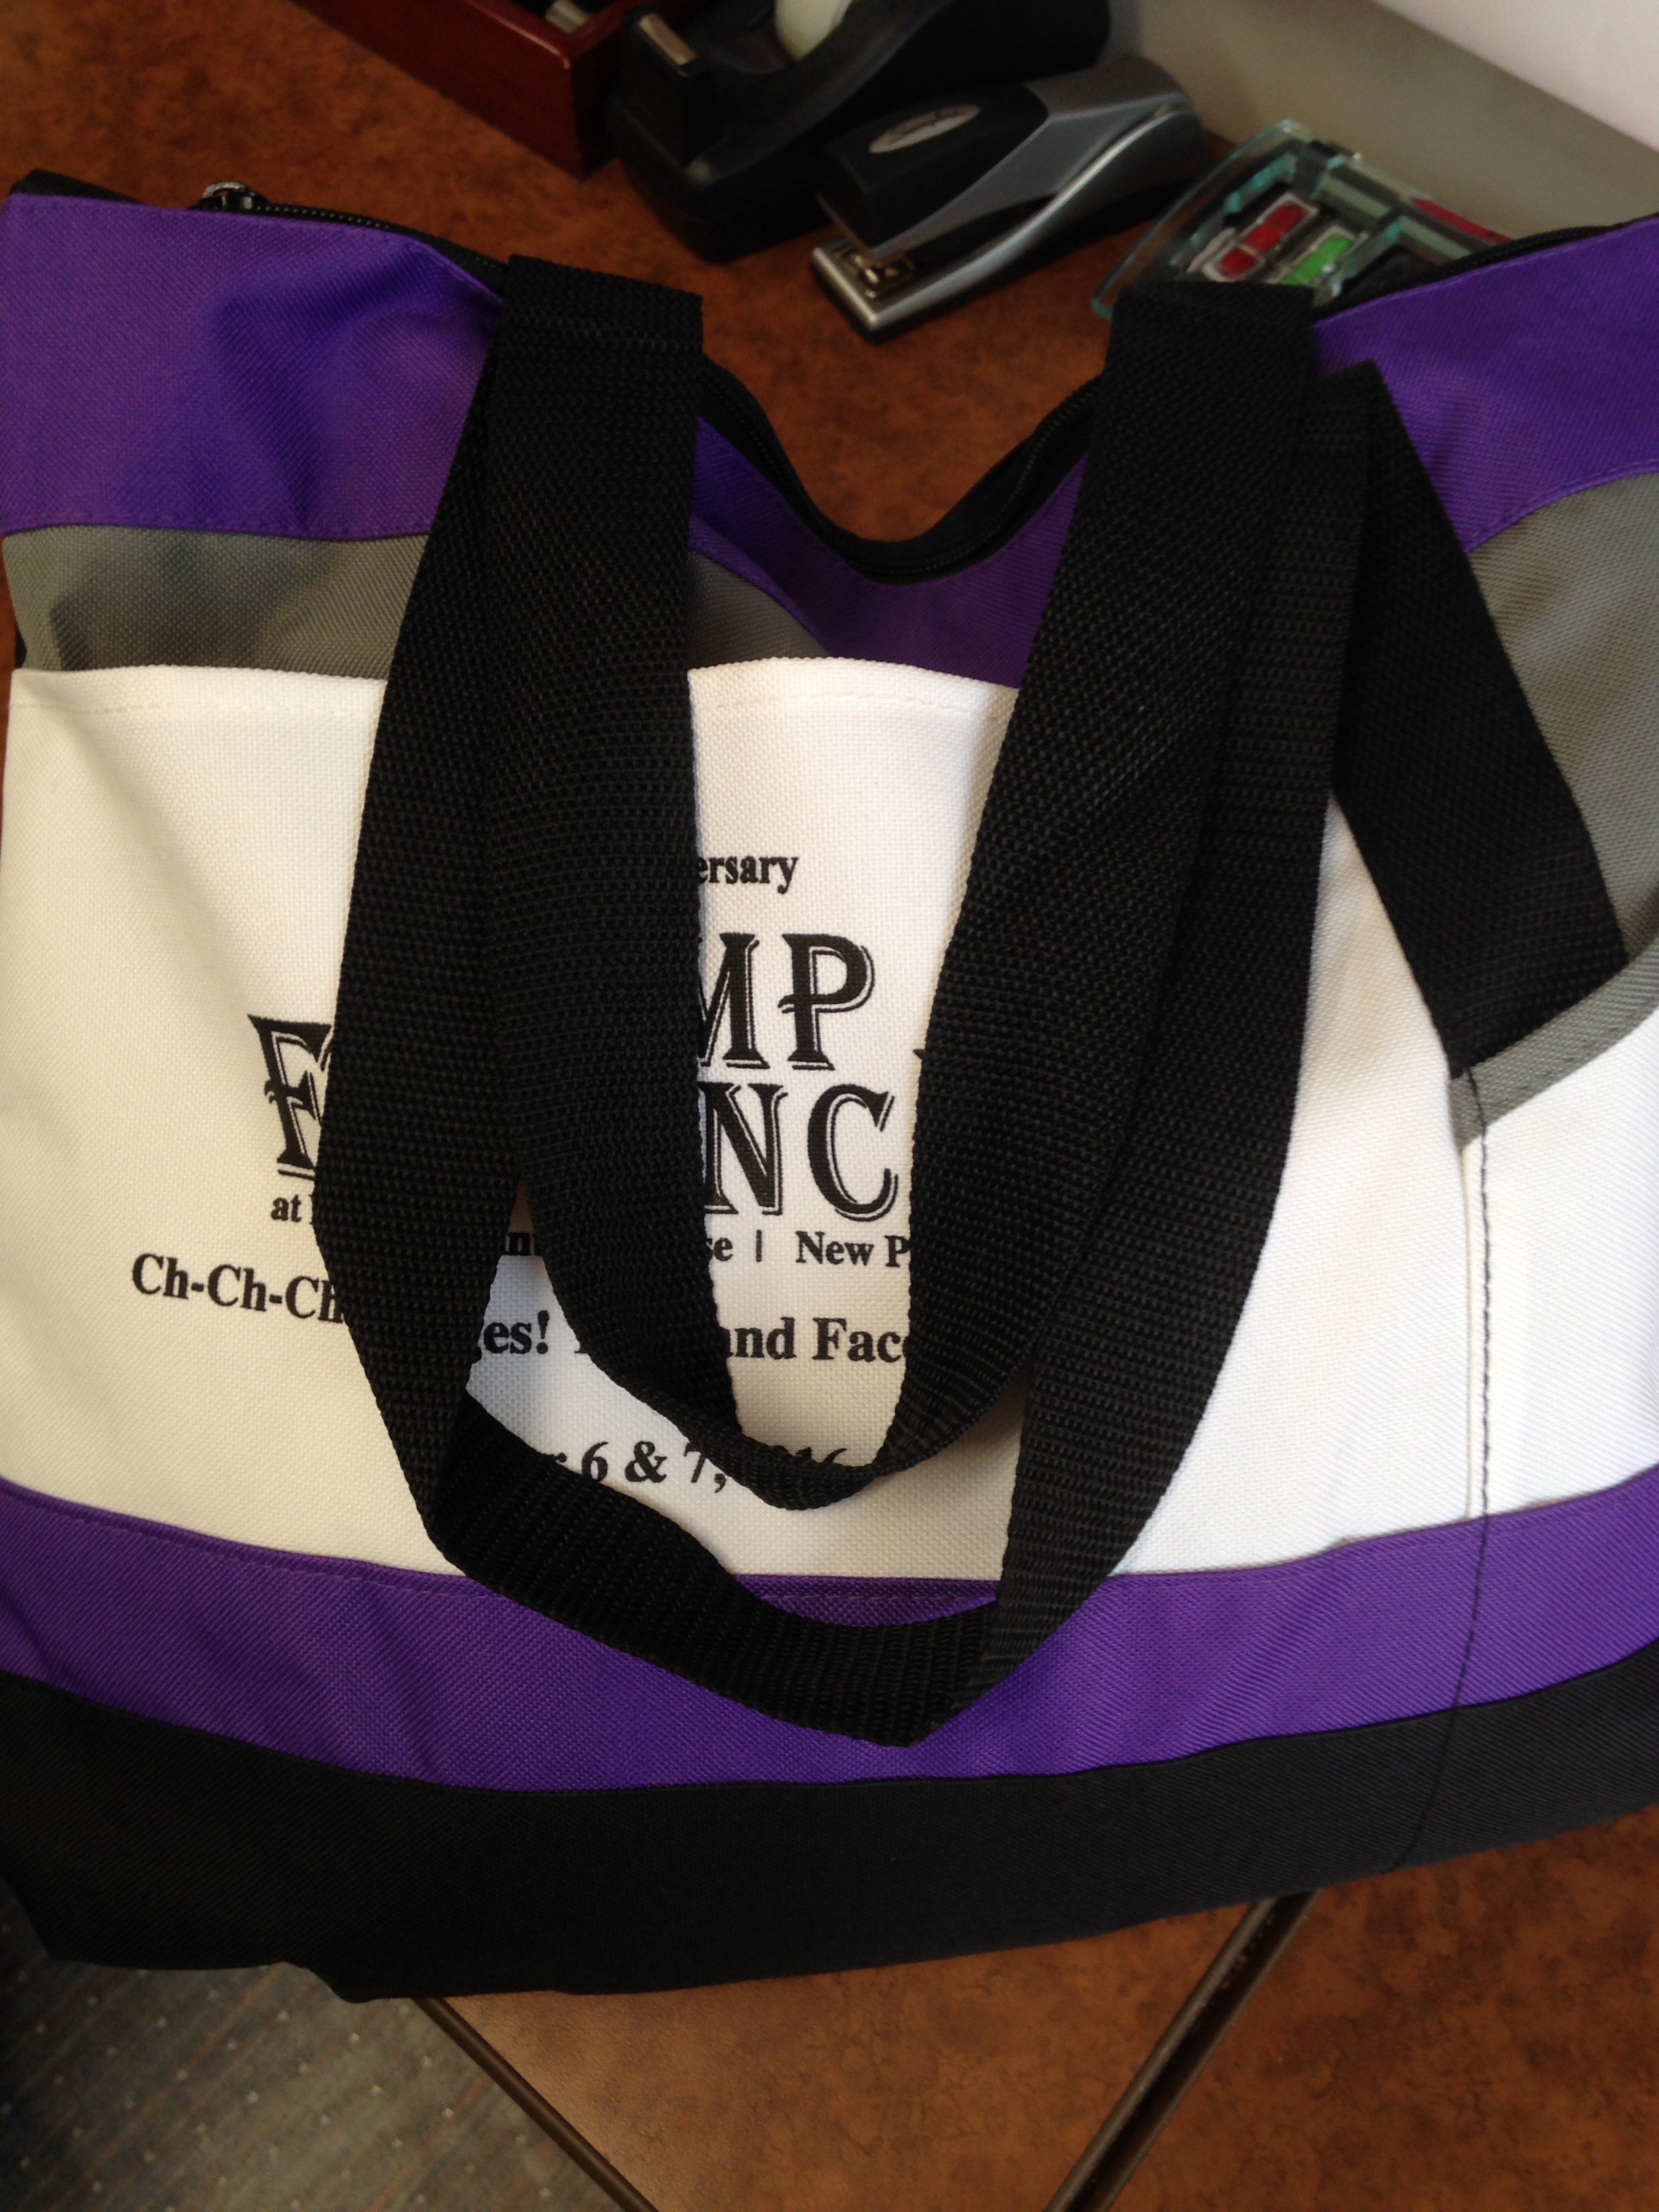
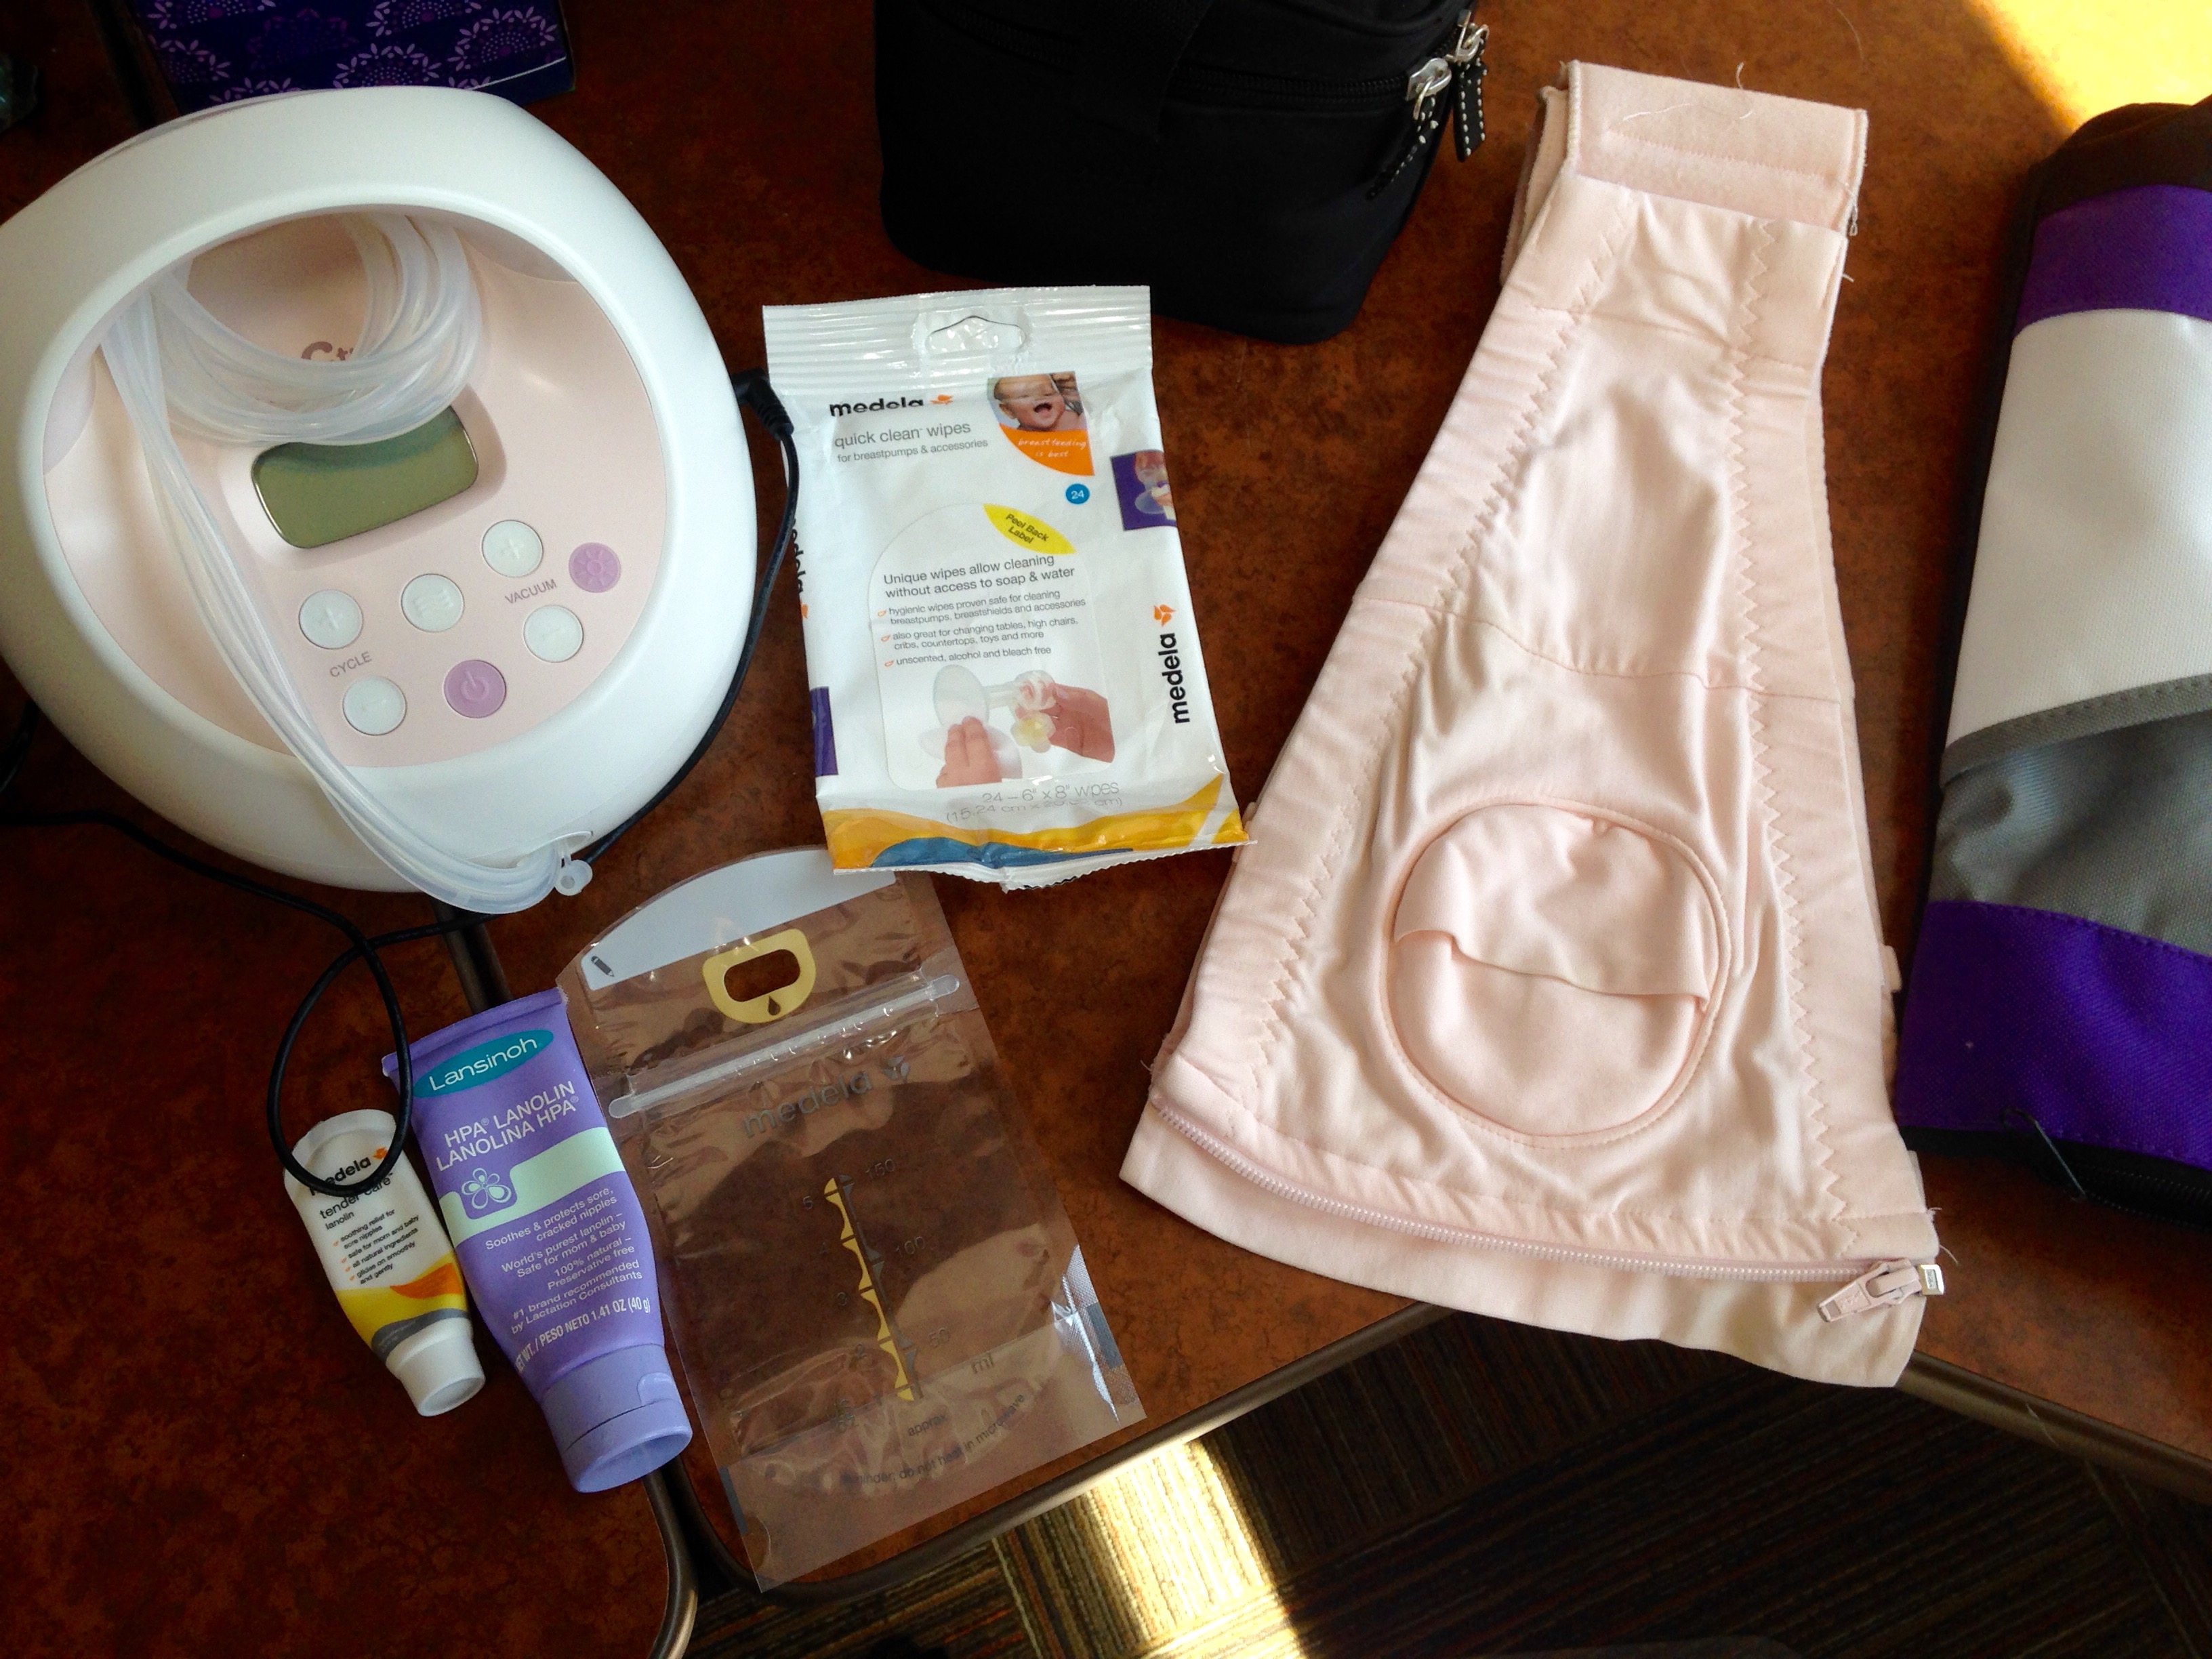
First I thought it’d be a good idea to explore what I keep in my pumping bag. Over time I have discovered that these items are great to have on hand every time I pump.
1. Lanolin– this helps lubricate the inside of the flanges if my nipples are dry or just not feeling it some days. Pure lanolin is safe for your baby to ingest, so make sure it’s pure and has no other ingredients.
2. Pumping storage bags– these save me when I forget my bottles. They don’t take up much space and, in a jam, I can pump into these. I don’t care for these bags for regular storage though. They have leaked on me when I tried to thaw my breast milk. So I only use them when I forgot my bottles and need to pump into something other than a plastic cup from the break room (yes, that has happened a couple of times). For regular freezing and storage I like these.
3. Medela quick clean wipes – These are great and I can wipe my parts down in a pinch if I forget to bring them home over the weekend.
4. Pumping bra – Get. One. I would not have been able to do this for so long if it wasn’t for this. Seriously. For those of us that work at a desk or with our hands at all, this is invaluable. It gives us the ability to work while pumping.
5. My pump! Can’t do much without that. Check with your insurance to see what is covered. My insurance covers one pump every 12 months. You can call the 800 number on the back of your insurance card to see what your insurance will offer. Have your policy number available if possible.
I started with the Medela Pump In Style which is where I got most of my accessories, then, after about a year, the motor started to go on me. I guess I can’t complain though since it was tried and true for 3 times a day, sometimes more, for close to a year! After that I asked my Facebook Support Group what they liked and the Spectra S2 was widely praised, and now I can see why! It’s a great machine and hasn’t let me down yet. It’s also a closed system vs. an open system like the Medela. A closed system has a closed motor, so no milk gets into the motor. The Medela was an open system, so it had the potential to get milk into the motor which meant you couldn’t gift it to anyone after you were done.
My Pump’s Home:
Since I have an office, I keep my pump and everything in my pumping bag right in my office, under my desk. If you don’t have to, it’s great to not have to lug it around. As a mom we already feel like bag ladies half the time, so it’s nice if we can reduce that feeling just a tad.
If you’re pumping on the go, this could easily be carried around or kept in your car.
My Parts’ Home:
My parts stay in the refrigerator at work from Monday to Friday. On Fridays I bring them home and sterilize them. Breast milk is safe in the refrigerator for up to 7 days so there is no need to take them home and sterilize them each night (you don’t even have to rinse them). This is a HUGE time saver.
If you’re pumping on the go, these can be stored in your pumping bag for up to 7 hours at room temperature.
My Bottles:
The only thing I carry with me to work is my cooler with my bottles and ice pack. This one came from my Madela Pump In Style which is perfect. Breast milk is safe in a cooler with the ice pack touching the bottles for up to 24hrs. At the end of my shift I bring these home and put the milk right into a cup/bottle for my daughter’s following day at daycare.
Pumping:
Now that we know where everything is, here’s my step by step process for each pumping session. It’s pretty smooth at this point, so even if you don’t follow it exactly, there’s probably a few things you can tweeze out to help your routine:
- Gather equipment & Set up: First I go to the refrigerator and get my pumping supplies, a big jug of water and a snack (usually a granola bar, or some almonds). I set my pump on my desk and get my bottles ready.
- Privacy: By law your employer is required to provide you with a clean, private space to pump. This sign can easily be placed on any door. If you’d like to print the image below, just right click, and copy and paste it into a word document to adjust size and print.

- Assemble pumping equipment: After I’m in my private space I get everything put together. I then turn on my pump and turn it all the way down. If you’re familiar with the Spectra, you’ll know that it remembers your last setting with which you left off in your last session. Starting at level 10 without working up to up first can be painful and a bit of a shock. OUCH! I also hit the let down button and turn that level down as well.
- What to wear: Each day I try and wear something that can be slid down the shoulders. This makes it easier to just slip the shirt down around your waist with no need to undo your bra or take your shirt completely off. Just slide everything down to your waist and put your pumping bra on.
- Position your Flanges: After my pumping bra is on and my pump is at a starting level (lowest setting), I take the flange off and place it on my breast so that my flange is squarely around my nipple as much as possible. I then put the flange end through the pumping bra opening and connect the rest of my equipment to the flange.
- Turn on your pump: The Spectra starts in the suction mode so hit the let down button right when you turn it on. If you have the Medela you will start in the let down mode so leave it where it is. The let down mode will be quick small suctions. You can turn this up if you aren’t feeling stimulated. With my Spectra I will usually start at 1 and go to 2 to stimulate a let down.
- Let Down to Suction Mode: Once your let down starts switch your pump into the suction mode at the lowest setting and slowly work your way up to the highest suction possible before being uncomfortable. If it becomes uncomfortable, turn it back down. And this is your sweet spot (mine is level 9 on the Spectra S2 but everyone is different). Relax and let the pump work for a few minutes and you should see, feel, and hear a steady stream of milk going into the flange and into your bottle.
- Adjust if needed: If you see that your nipple is rubbing the side of the flange take it off and adjust it quickly without turning your pump off. Keep re placing it over your nipple until your nipple isn’t touching the sides of the flange as much as possible. If you find that there is no adjustment that will alleviate the flange being against your nipple on all sides or the tip of your nipple is touching the end of your flange, you might need a bigger size. If your areola is getting sucked into the flange you might need a smaller size.

9. Massage: The other beauty of having a hands free pumping bra is that you are able to massage your breasts while pumping. This will allow you to get the maximum yield each pumping session. I will usually pump for 10 minutes while working and use the last 5 minutes to massage and squeeze out the remainder, starting at the outside working my way in toward my nipple/start of the flange (going under it if I can).
10. How long to pump?: Everyone’s pumping session will differ, but we usually want to pump until there is no longer a steady stream of milk coming out. Mine will usually stop around 10 minutes and then when I start massaging it will begin again as I get all the rest out. A regular pumping session lasts me around 18 minutes.
11. Unhooking: After we are done pumping the last thing we want is to make a mess or lose any milk. Here’s how I unhook without losing a drop.
- First, I unhook my tubing and, for the spectra, the round circle membranes as well, and place them into my pumping supplies container.
- Next I carefully take the flange and bottle off my nipple (connected) rotating and scraping my nipple to get any excess drips and rotating it through the pumping bra’s opening at the same time.
- I hold the flange at an angle so that the extra milk goes into the bottle.
- I then unscrew the flange from the bottle and tap the excess milk into the bottle and place it into the pumping supply container.
- I set the bottle aside and do the same to the other side.
- I combine the milk into one bottle (I yield 4oz total each time I pump so this is easy for me. If you get enough to fill two bottles that’s great! Eliminate this step.)
- I place the caps on the bottles and put them into their cooler
- I place the top back on the supply container.
- Get Dressed: Last, I take my pumping bra off, fold it up and put it into my pumping bag, pull up my bra and shirt over my shoulders and back into place.
- Clean up: I put my pump back in it’s bag and back under my desk and bring my pumping supplies back to the fridge. I take my sign down.
All Done!
After a few times this has become a pretty seamless process. Weather you’re pumping on the go, in an office, or private room provided by your employer, these steps should help make it seamless for you too. Pumping can seem like a daunting task at first, but with anything, practice makes perfect.
General Pumping Tips
How Much/ How Often
The general rule of thumb is you should be pumping about 1-1.5oz per hour that you are away from your baby. They should be drinking this as well.
Each pumping session I pump roughly 4oz (sometimes as little as 2, or as much as 5, but average is always around 4oz. This is completely normal, so don’t stress if you’re a little on the low side one day), and I pump every 3 hours.
Daily Pumping Schedule
6am: Nurse at home
9am: Pump 4oz Bottle (ideally she’s having the same size bottle at daycare while I’m pumping at work)
12pm: Pump 4oz Bottle (ideally she’s having the same size bottle at daycare while I’m pumping at work)
3pm: Pump 4oz Bottle (ideally she’s having the same size bottle at daycare while I’m pumping at work)
6pm: Nurse at home
Bottle Prep Schedule
Milk Collection
Each pumping session, I collect milk into my pumping bottles and keep them in my cooler at my desk.
Daily Bottle Prep
Right when I get home (unless baby wants to nurse right away of course) I use the milk I’ve pumped that day to make three 4oz bottles for the next day & label them appropriately (daycare requires full name, date expressed, and date of school-so the work day). I do this on Fridays as well, even though the milk won’t be used until Monday.
Pumped Too Little?
If I’ve pumped a little less than 12oz I will usually have some extra from a previous day’s pumping, or bottle from the current day’s left overs that I can use to top it off. If I’m out, I go to my freezer stash.
Pumped Too Much?
If I’ve pumped more than 12oz I will put it in a separate pumping bottle and keep it in the fridge.
Weekly Freezing
Each Friday I will make three 4oz bottles from the most current milk first (so Friday’s pumped milk).
Any extras from the week’s pumping, or week’s bottles I will freeze so that Friday evening I’m left with only my bottles ready to go for Monday. I place them in the back of the fridge for storage until Monday morning, at which time I start the cycle over again.
Use Most Recent Milk First
It’s best to use the most recently pumped milk first when making bottles for the next day. Each time our baby nurses, their saliva goes into our breasts and our milk changes composition to meet our baby’s needs in that moment. It will tell our bodies to produce specific anti bodies if they are starting to come down with a cold, for example, or that they need more fat because they are starting to have a growth spurt. This is why the most recent milk is the best for them at that time.
You CAN do it.
Like anything, practice really does make perfect, and a new addition to our routine will soon become habit and feel normal. Sure you’ll be a little awkward at first – we all are with anything we’re just starting to get the hang of. But you can do it, and you’ll get good at this. Hopefully these tips will allow you to simplify parts of your routine and help you really feel at ease with the process and be successful.

4 Comments Add yours